Introduction
Animation curves are being used in Unity usually with the Timeline or the animator, but their use is not exclusive to them. Although curves are most known for tweening, as they are used by most tweening libraries, they are also useful for a number of things that need a mathematical function that changes the resulting value depending on the input.
Using Unity’s animation curves and min max curves we can have a visual representation of the functions and how they change over time. Even if this function can be made in code, with animation curves we can easily change visually the function from inside the Unity editor, without the need to recompile our code.
Let’s have a quick look at animation curves and min max curves in Unity, and then an example that uses both of them, that allows us to visually create the probabilities of a loot table that has different tiers of items, depending on the character level, only some tiers will be available, and we can also create a visual distribution method that creates different chances for each available tier.
Animation Curves
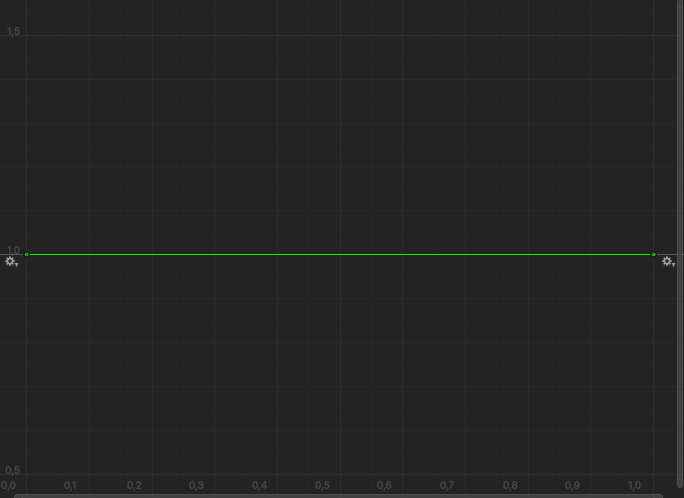
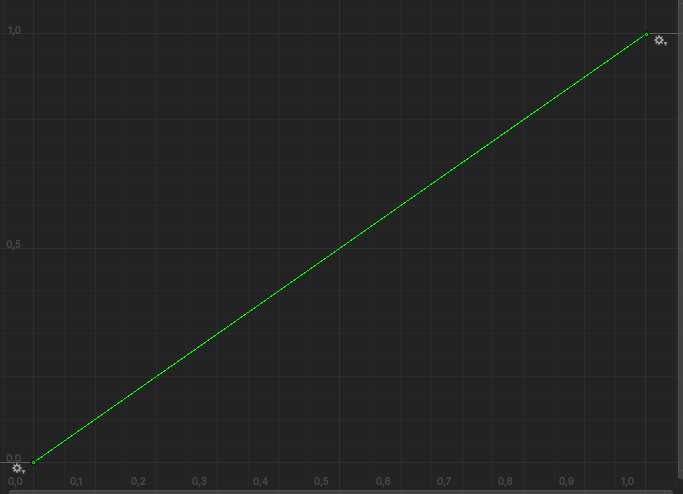
The above two images show two of the simplest curves, the first is constant, no matter the input (which can be from 0 to 1 in the above example) the output will be 1.
The second is linear, the output will always be equal to the input. Those two functions, can be easily written in code, for other more complicated functions you can check the easings.net site, but in any case having the ability to change the graph visually, instead of changing code and recompiling is a huge advantage.
For this reason, Unity has the AnimationCurve class. Its usage is really simple:
[SerializeField] private AnimationCurve myCurve;

myCurve.Evaluate(x)
With the first line, we can have in our inspector an animation curve that we can change in editor, with the second line we get a float value that is the result of our input x. Our x here represents the x-axis in the graph and the result of the evaluate method the y-axis.
Min Max Curves
MinMaxCurve, is another class in Unity that helps with the visual representation of curves. The MinMaxCurve class will create a grid that has two animation curves. This allows us to use the Evaluate method, to get a number between those two curves.
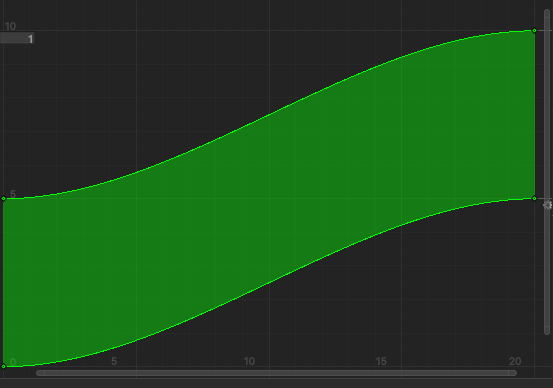
Here is an example of a how a MinMaxCurve is shown in the editor:
We can create a MinMaxCurve from two animation curves like this:
[SerializeField] private ParticleSystem.MinMaxCurve myMinMaxCurve
    = new ParticleSystem.MinMaxCurve(1, new AnimationCurve(), new AnimationCurve());
The number at the front, is the multiplier that is applied to the curve.
The Evaluate method of the MinMaxCurve takes two arguments: The first represents a value at the x-axis as before. The second argument should have a value between 0 and 1 and the result represents a point that its x-value is the previous first argument and its y-value exists between the two curves. A zero value on the second argument is a point on the lower curve, a value of one is a point on the upper, a value of 0.5 is in the middle and so on.
Creating Loot Table Probabilities Visually
We can use the MinMaxCurve to represent our level rarity compared to our player level. If for example we have item tiers from zero to ten and player levels from zero to twenty, the above MinMaxCurve editor could be used to easily represent the available item tiers for each player level.
In the above picture, we can see that a zero level player will have access to item drops between zero and five and a level 20 player will have access to item drops for tiers between 5 and 10. This can be easily changed in the editor without the need to recompile.
If we want a drop for level twenty player for example, we can call the MinMaxCurve.Evaluate method with the first parameter being 20 and the second a random number between zero and one. This will give an equal chance to get any of the available tier items, but this may not be desirable.
For this reason, we can also have an animation curve. This curve will represent the probability distribution for our item tiers. The x-axis minimum will be the lowest available tier for that player level and the maximum the highest available tier. The y-axis will represent how the probability will change for each item tier.
Finally, visually changing everything is good, but also having in the inspector the probabilities as numbers, as we change our MinMaxCurve and our animation curve can help us with any tweaking we might need. For this reason, we can first create a serializable class that can hold all that information for us:
The LevelProbabilities class
[Serializable]
   private class LevelProbabilities
   {
      [ReadOnly, SerializeField] private List<RarityPercentages> rarityPercentages;

      internal LevelProbabilities(int minRarity, int maxRarity) => rarityPercentages = new List<RarityPercentages>(maxRarity - minRarity + 1);

      internal void AddChance(int rarity, float chance) =>
         rarityPercentages.Add(new RarityPercentages
         {
            rarity = rarity,
            chance = (float)Math.Round(Mathf.Clamp(chance * 100f, 0, 100f),2)
         });

      internal int GetRarity(float percentageChance)
      {
         var totalChance = 0f;
         foreach (var chance in rarityPercentages)
         {
            totalChance += chance.chance;
            if (percentageChance * 100f <= totalChance)
               return chance.rarity;
         }

         Debug.LogException(new ArgumentOutOfRangeException(nameof(percentageChance), " greater than sum of percentages"));
         return -1;
      }

      [Serializable]
      private struct RarityPercentages
      {
         public int rarity;
         public float chance;
      }
   }
This class represents a slice in the x-axis of the MinMaxCurve (a player level). It has a List with RarityPercentages that contain info with the item tier level and the probability for each tier.
The AddChance method, populates the list with a new RarityPercentages object and the GetRarity method, returns an int that represent an item tier, based on percentageChance parameter that can have values between 0 and 1.
The LootProbabilities class
Now let’s go to the LootProbabilities class that has the calculations needed for our curves.
First we create our MinMaxCurve and our animation curve, as well an array of the previous LevelProbabilities type, that will have size equal to the number of levels our player can have (21) in this case. Then we add Unity’s OnValidate and Reset event methods. OnValidate will perform the necessary calculations on every change we make and Reset will be responsible for any initialization:
private const int MAX_LEVEL = 20;
   private const float MAX_RARITY = 10;

   [SerializeField] private ParticleSystem.MinMaxCurve lootRarityPerLevel;
   [SerializeField] private AnimationCurve probabilitiesDistribution;

   [ReadOnly, SerializeField] private LevelProbabilities[] probabilitiesPerLevel;

   private void OnValidate()
   {
      lootRarityPerLevel.curveMultiplier = 1f;
      CalculateChances();
   }

   private void Reset()
   {
      var upperAnimationCurve =  AnimationCurve.EaseInOut(0, MAX_RARITY/2, MAX_LEVEL, MAX_RARITY);
      var lowerAnimationCurve = AnimationCurve.EaseInOut(0, 0, MAX_LEVEL, MAX_RARITY/2);
      probabilitiesDistribution = new AnimationCurve(new Keyframe(0.01f, 0.01f), new Keyframe(1, 1));

      lootRarityPerLevel = new ParticleSystem.MinMaxCurve(1, lowerAnimationCurve, upperAnimationCurve)
         { mode = ParticleSystemCurveMode.TwoCurves };

      CalculateChances();
   }
A public GetRarity method, is needed for calling the LevelProbabilities method of the same name:
public int GetRarity(int level, float random) => probabilitiesPerLevel[level].GetRarity(random);
Finally, now we only need to implement the CalculateChances method
private void CalculateChances()
   {
      var (minRarityAtLevel,maxRarityAtLevel) = RaritySpreadPerLevel();
      probabilitiesPerLevel = new LevelProbabilities[MAX_LEVEL + 1];

      for (int level = 0; level <= MAX_LEVEL; level++)
      {
         probabilitiesPerLevel[level] = new LevelProbabilities(minRarityAtLevel[level], maxRarityAtLevel[level]);

         var chancesSum = CalculateChancesSum(minRarityAtLevel[level], maxRarityAtLevel[level]);

         for (int rarity = minRarityAtLevel[level]; rarity <= maxRarityAtLevel[level]; rarity++)
         {
            var chance = probabilitiesDistribution.Evaluate((float)(rarity - minRarityAtLevel[level]) /
                                                         (maxRarityAtLevel[level] - minRarityAtLevel[level]));
            probabilitiesPerLevel[level].AddChance(rarity, chance / chancesSum);
         }
      }

      return;
The RaritySpreadPerLevel local method, returns integer arrays that hold the minimum and maximum rarity item tiers for each player level, and they are calculated by evaluating our MinMaxCurve for each level at zero and at 1:
(int[],int[]) RaritySpreadPerLevel()
{
    var minRarity = new int[MAX_LEVEL + 1];
    var maxRarity = new int[MAX_LEVEL + 1];
    for (var i = 0; i < MAX_LEVEL + 1; i++)
    {
        minRarity[i] = (int)lootRarityPerLevel.Evaluate(i, 0f);
        maxRarity[i] = (int)lootRarityPerLevel.Evaluate(i, 1f);
    }
    return (minRarity, maxRarity);
}
We iterate afterwards with a for loop, for all the player levels. Each time, we populate our array with a new LevelProbabilities object, we calculate the sum of our probabilities so that we can later normalize to 1 and finally for each rarity item tier, we evaluate the probability chance.
Here is the CalculateChancesSum method:
float CalculateChancesSum(int minRarity, int maxRarity)
{
    float chancesSum = 0;
    for (int j = minRarity; j <= maxRarity; j++)
    {
        var chance = probabilitiesDistribution.Evaluate((float)(j - minRarity) / (maxRarity - minRarity));
        chancesSum += chance;
    }
    return chancesSum;
}
Our inspector now will look something like this:

Anywhere in our code the GetRarity method is the one responsible for returning the appropriate item tier, based on the player level, our loot rarity per level Min Max Graph and our probabilities’ distribution graph.
Conclusion
You can find the code for this post in this github gist
Thank you for reading, and as always, if you have any questions or comments you can use the comments section, or contact me directly via the contact form or by email. Also if you don’t want to miss any of the new blog posts, you can always subscribe to my newsletter or the RSS feed.